

Alright, so I recently tackled a fun little project – swapping out the stock entertainment system in my 2018 Kia Sportage SX. Figured I’d share the whole process, in case anyone else is thinking about doing the same.
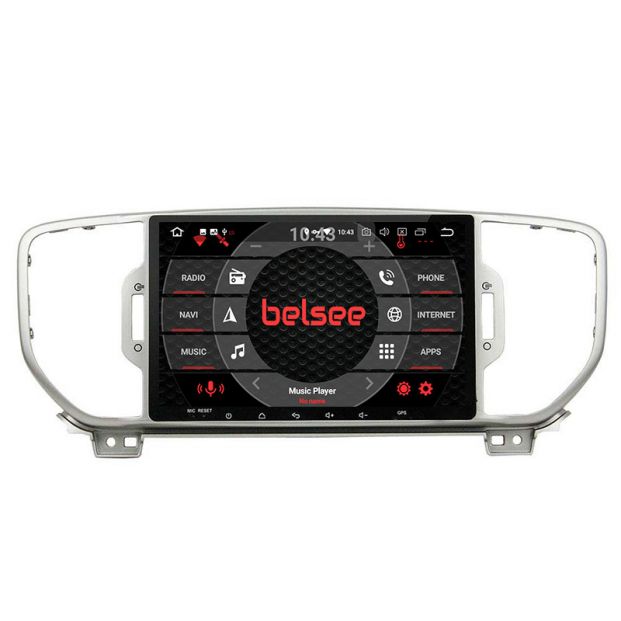
First things first, I did a bunch of research. I mean, a lot. Watched YouTube videos, read forums, compared different head units. I wanted something that supported Apple CarPlay and Android Auto, had a decent-sized screen, and wouldn’t look totally out of place in the dash. Finally settled on a Kenwood unit – seemed to hit all the right notes.


Next up, gathering the supplies. Besides the head unit itself, I needed a wiring harness adapter (crucial!), a dash kit to make the new unit fit snugly, and some basic tools like a screwdriver set, wire stripper, and maybe some electrical tape. Ordered everything online – Amazon to the rescue!
Now, the real fun begins. I started by disconnecting the car battery – safety first, people! Then, carefully pried off the trim around the existing radio. This part always makes me nervous – don’t wanna break anything! Used a plastic trim removal tool to avoid scratching the dash.
Once the trim was off, I unscrewed the stock radio and gently pulled it out. Unplugged all the connectors in the back – antenna, wiring harness, everything. Took a picture of the connectors before unplugging, just in case I needed a reference later. Trust me, it helps!
Then came the wiring. This is where that wiring harness adapter comes in handy. I matched up the wires from the Kenwood unit to the adapter, using the wiring diagrams for both. Soldered the connections and covered them with heat shrink tubing – nice and clean.
With the wiring done, I connected the adapter to the car’s wiring harness and plugged in the antenna. Slid the new head unit into the dash kit, and then slid the whole assembly into the dash. Screwed it in place, making sure it was secure.
Time to test it out! Reconnected the car battery and turned on the ignition. The Kenwood unit fired right up! Went through the initial setup, connected my phone via Bluetooth, and tested the CarPlay functionality. Everything worked perfectly!
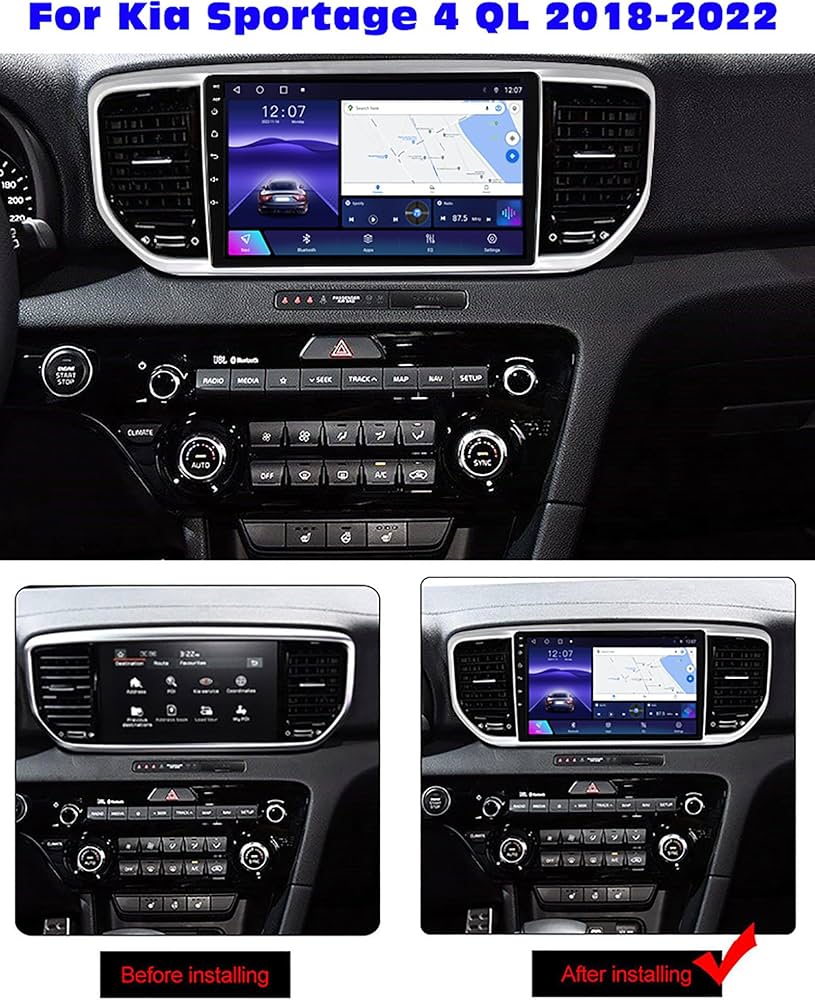
Finally, I snapped the trim back into place, making sure everything lined up properly. Stepped back and admired my work. The new head unit looks great in the Sportage! It’s a huge upgrade from the stock system. The bigger screen is awesome, and CarPlay makes navigation and music streaming a breeze.
Overall, the whole project took me about 4 hours, start to finish. It wasn’t super difficult, but definitely requires some patience and attention to detail. If you’re comfortable with basic wiring and don’t mind taking your time, it’s totally doable. And the end result is totally worth it!
Lessons Learned:
- Do your research beforehand – find a head unit that fits your needs and budget.
- Get a good wiring harness adapter – it’ll save you a ton of time and hassle.
- Take pictures of everything before you disconnect it – trust me, you’ll thank yourself later.
- Don’t be afraid to ask for help – there are tons of resources online if you get stuck.
So yeah, that’s my story. Hope this helps anyone else thinking about upgrading their car’s entertainment system. Happy wrenching!


