

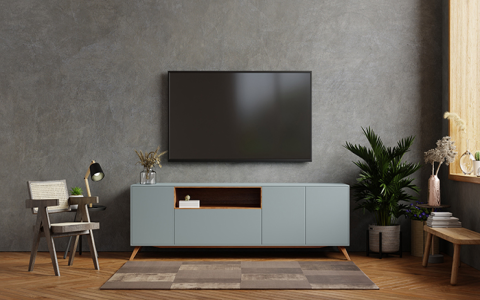
Alright, let’s talk about putting together this 3-piece entertainment center I got. The boxes arrived, looking massive on the porch. Felt like a whole project just getting them inside.
So, Saturday morning, coffee brewed, decided to tackle it. Opened the first box. Whoa. So many pieces. Styrofoam everywhere. You know that feeling? Like, maybe I should’ve just paid for assembly. But no, I like doing this stuff. Mostly.


Unboxing and Sorting Chaos
Pulled everything out. Laid it all across the living room floor. Looked like a puzzle designed by someone who enjoys mild suffering. Checked the parts list against what was actually there. Thankfully, all present. Bag of screws, dowels, those little cam lock things – the usual suspects.
The instructions looked… okay. Mostly pictures. Reminded me of those wordless instructions you get with some gadgets. Sometimes clear, sometimes you’re just guessing based on the drawing that looks vaguely like the step you think you’re on.
Building the Main Console Bit
Started with the big piece, the TV stand part. Grabbed my screwdriver – the trusty one, not the fancy electric one because I always overtighten with that thing. Put in the wooden dowels first. Tap, tap, tap. Then attached the side panels to the bottom piece. Lots of screwing. My wrist was feeling it pretty quick.
Got the main frame together. Then the back panel. Those flimsy cardboard things you nail in? Yeah, those. Lined it up, started hammering in the tiny nails. Missed one, hit my thumb. Classic. Didn’t swear though, kid was in the next room. Just did that sharp inhale thing, you know?
Put the shelves in. Slid the doors on. Okay, one piece down. Stood it up. Seemed solid enough. Better than that wobbly thing I had before, which was probably a safety hazard thinking back.
Tackling the Towers
Next up were the two side towers. Basically smaller versions of the main console, just taller. Process was pretty much the same. Dowels, screws, cam locks. By the second tower, I was getting faster. Muscle memory, I guess. Or maybe just wanting it to be over.
- Attached side panels
- Put in the fixed shelves
- Attached the top piece
- Nailed on the back panel (didn’t hit my thumb this time!)
- Inserted the adjustable shelves
These towers felt a bit less sturdy on their own, but I figured once they were next to the main console and maybe anchored, they’d be fine. Always anchor your tall furniture, folks. Seriously. Especially with kids or pets. Learned that the hard way years ago with a bookshelf. Nothing terrible happened, thankfully, but it was a wake-up call.
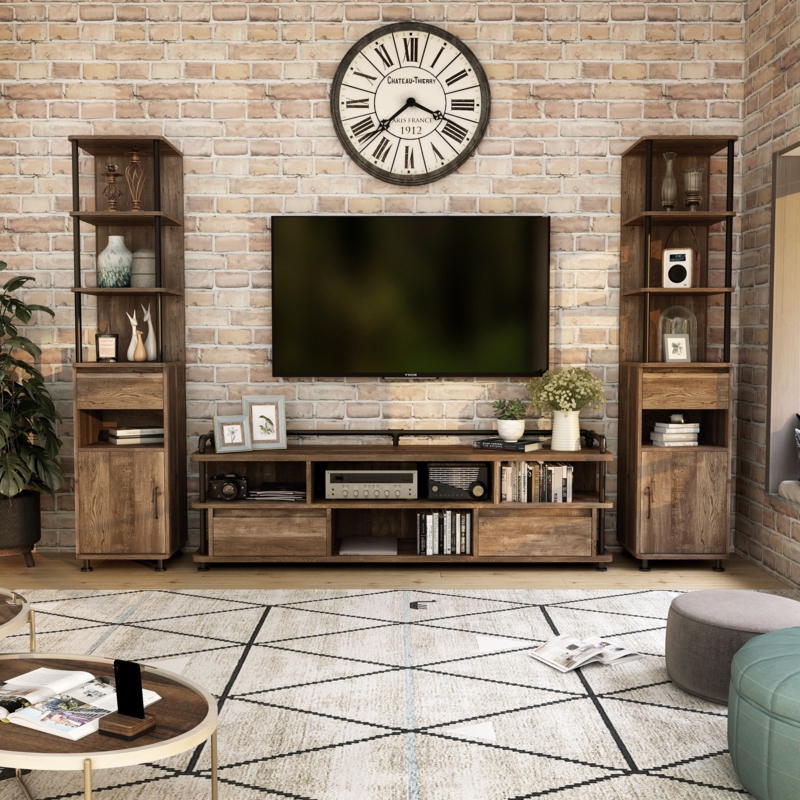
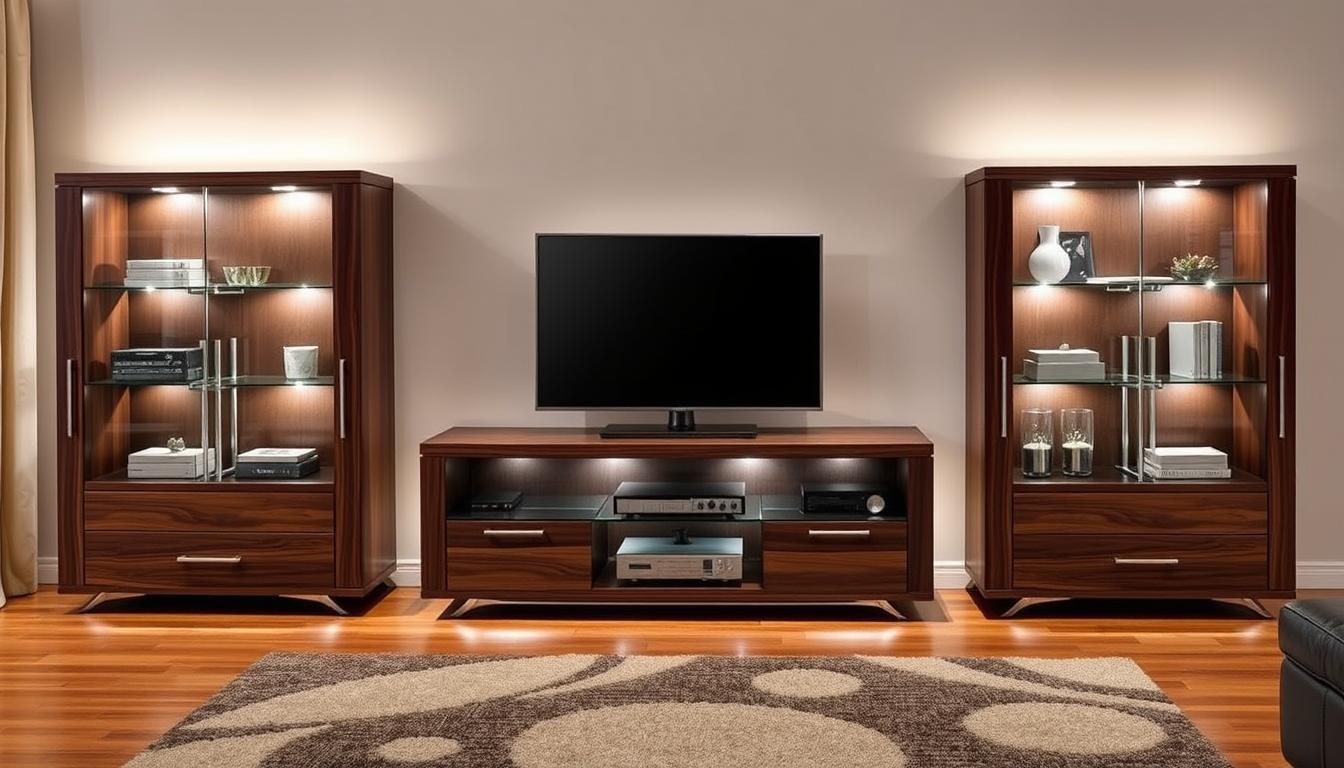
Putting It All Together
Okay, three separate pieces standing there. Now to arrange them. Pushed the main console against the wall where I wanted it. Then shuffled the first tower into place beside it. Lined it up. Then did the same with the second tower on the other side. Had to adjust them a few times to get the spacing looking right. It’s heavier than you think when you’re trying to nudge it just an inch.
Stepped back. Looked okay. Yeah, pretty good actually. Fills the wall nicely.
The Final Setup
Now the fun part, relatively speaking. Lifted the TV onto the stand. Carefully. That’s always a tense moment. Plugged everything in – the TV, the soundbar, the game console. Tried to manage the cables, used some zip ties. It’s never perfect behind there, is it? Always looks like spaghetti junction, but at least it’s hidden spaghetti junction.
Put some books on the tower shelves, a couple of photos. Still needs more stuff to make it look lived-in, but it’s a start. Turned on the TV. Everything worked.
So yeah, that was the process. Took a good chunk of the day, bit of sweat, minor injury, but saved some money doing it myself. And honestly? Feels good looking at it, knowing I put it together. It’s solid, does the job. Can’t ask for much more than that.


