

Okay, here’s my attempt at a blog post about building a rustic entertainment center, based on your instructions:
Rustic Entertainment Center: My DIY Adventure
Alright, folks, let me tell you about this entertainment center I just finished. It was a journey, man, a real journey. I wouldn’t say I’m a pro woodworker, more like a enthusiastic amateur, but I was determined to build something cool and unique for my living room.


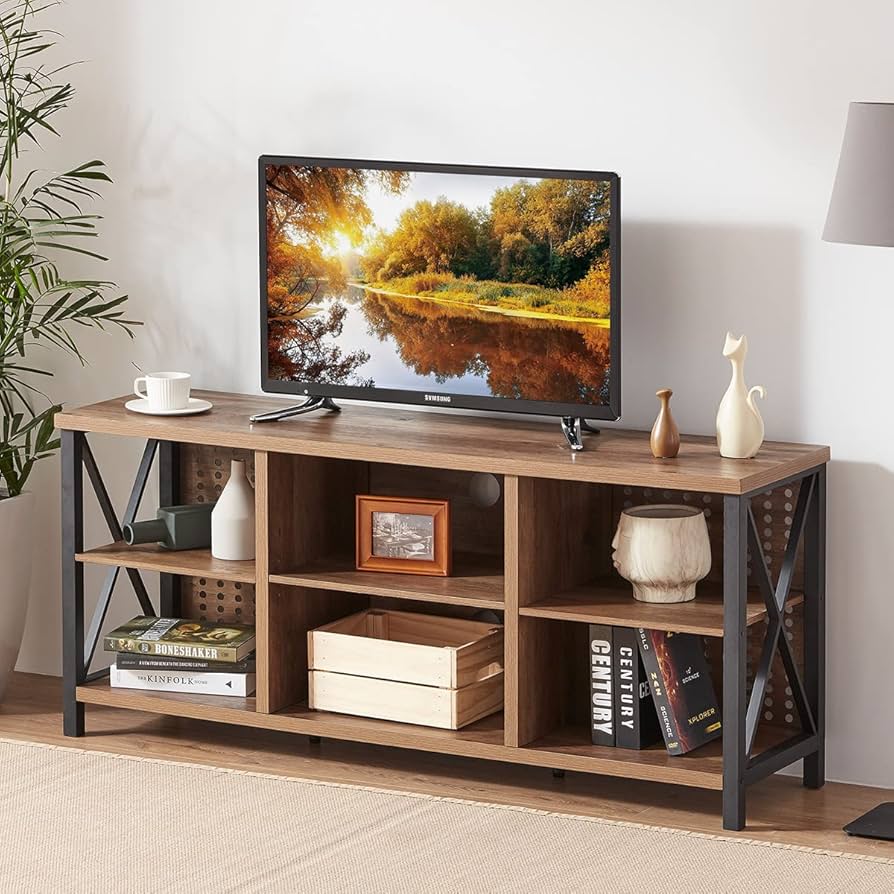
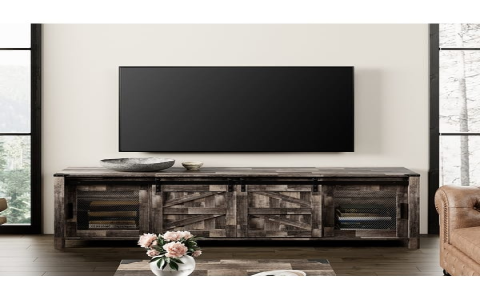
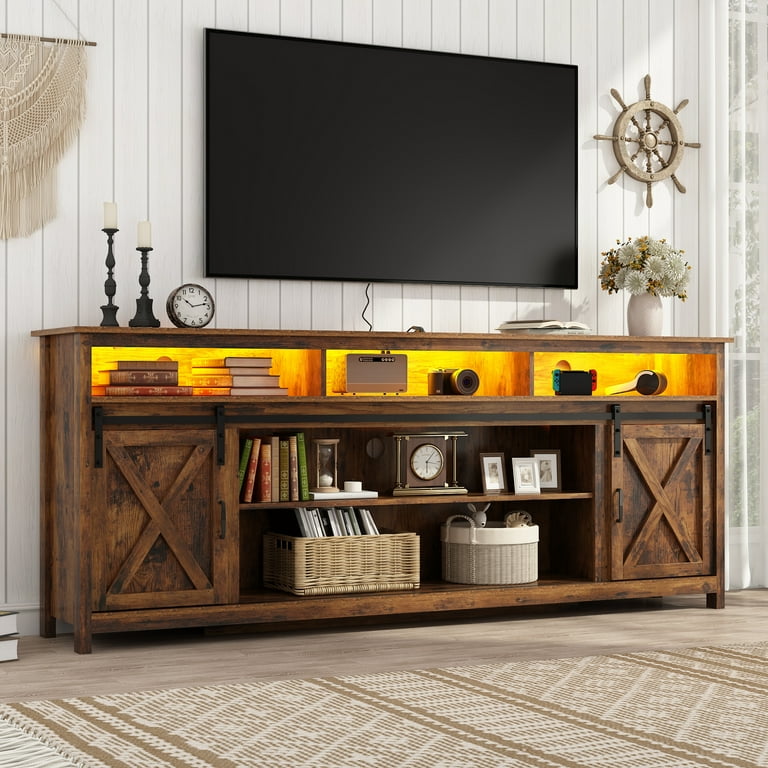
First things first, I started with the planning. I measured the space where the entertainment center would go, then sketched out a few designs. I knew I wanted something rustic, with a bit of an industrial edge. After a bunch of doodling and erasing, I landed on a design that had a wide top for the TV, some open shelving for consoles and stuff, and a couple of cabinets with doors for hiding all the clutter.
Next up: the lumber. I headed to my local lumber yard and picked out some rough-sawn pine. I wanted that natural, slightly imperfect look. I also grabbed some metal piping for the legs and some mesh for the cabinet doors. The guys at the lumber yard probably thought I was nuts, but hey, I had a vision.
Back in the garage, the real work began. I started by milling the lumber down to the right dimensions. This involved a lot of sawing, planing, and sanding. Honestly, this part was a pain, but it was essential to get everything square and smooth. Then I assembled the main frame of the entertainment center using wood glue and screws. I made sure everything was nice and sturdy.
The shelving was pretty straightforward. I cut the shelves to size and attached them to the frame using pocket screws. For the cabinets, I built separate boxes and attached them to the frame as well.
Now for the fun part: the rustic details. I took a wire brush to the wood to accentuate the grain and give it a more weathered look. Then I applied a stain to bring out the natural color of the pine. I opted for a dark walnut stain to contrast with the metal piping.
Speaking of the metal piping, I cut it to length and threaded the ends. I used flanges to attach the pipes to the bottom of the entertainment center, creating the legs. This was a bit tricky to get everything level, but I eventually figured it out.
For the cabinet doors, I built simple frames and inserted metal mesh. This gave the cabinets a cool, industrial vibe. I attached hinges to the doors and installed magnetic catches to keep them closed.
Finally, after what felt like an eternity, the entertainment center was finished. I carried it inside (with the help of a friend, because it was heavy!) and placed it in its designated spot. I hooked up the TV, the consoles, and all the other gadgets. And then I just stood back and admired my handiwork.
Was it perfect? Nope. There were definitely some imperfections, some uneven edges, and some slightly crooked screws. But that’s what I loved about it. It was unique, it was handmade, and it was mine. And now my living room has a killer rustic entertainment center that I built myself. Totally worth the effort.


