

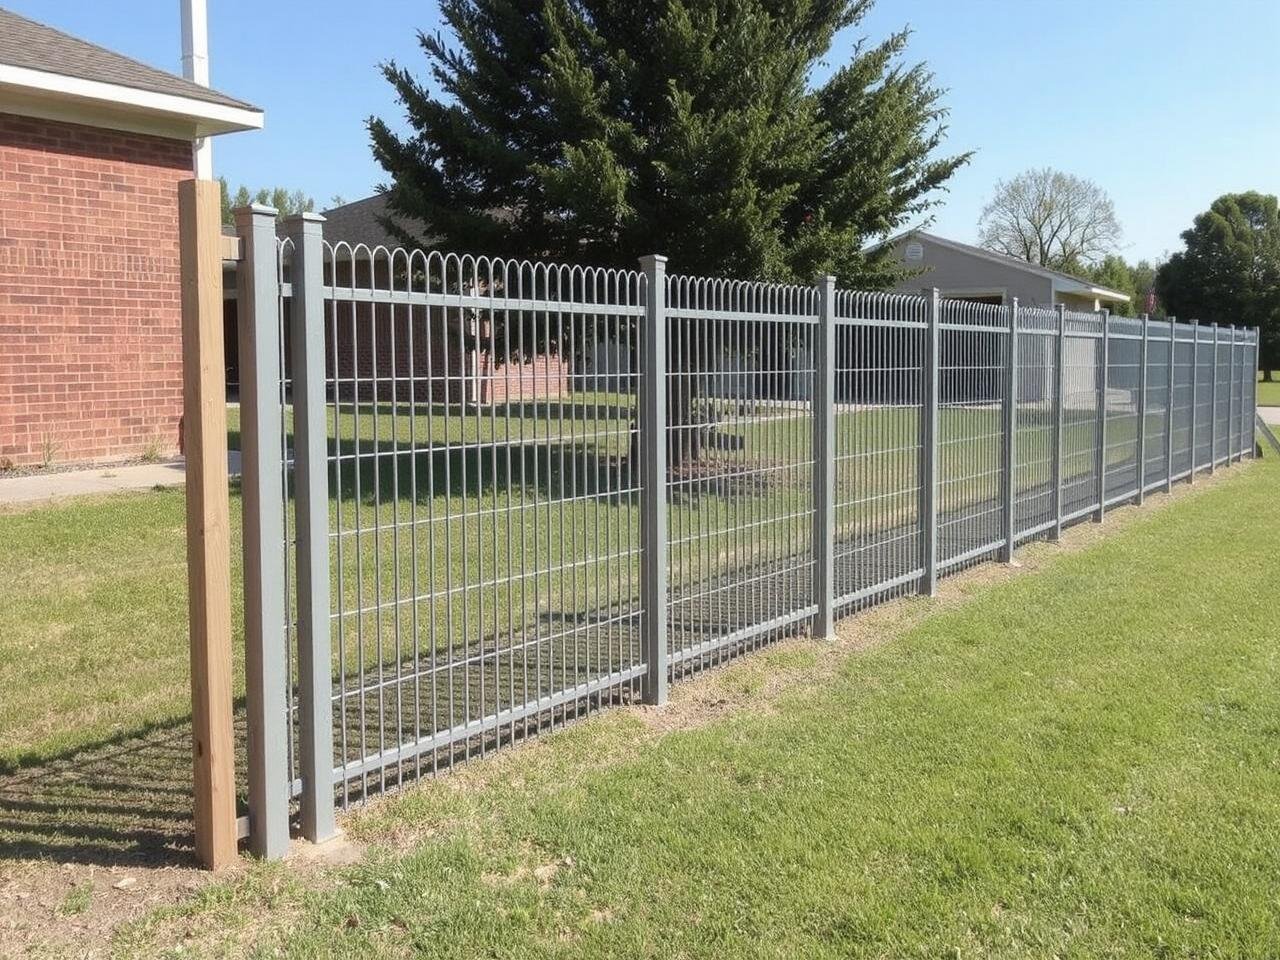
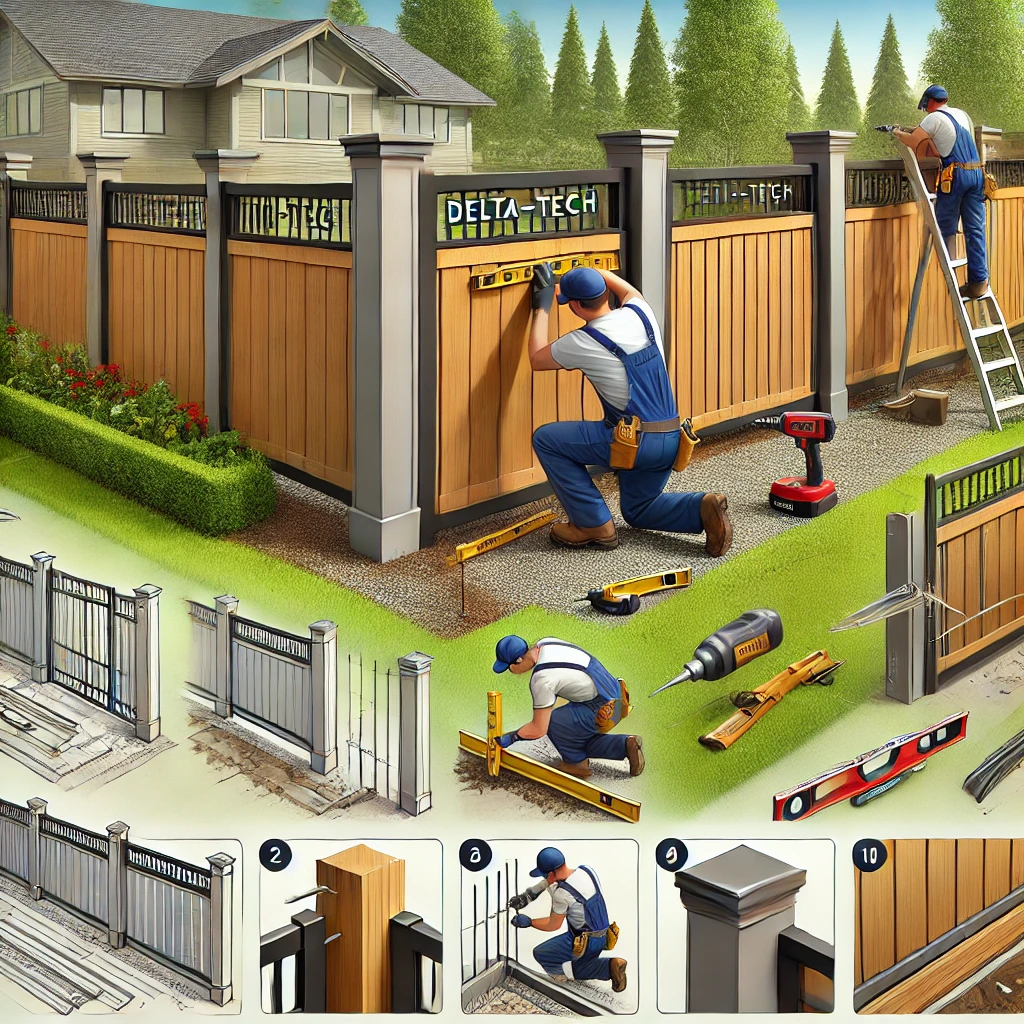
Hey there! Today we’re gonna talk about how to put up that Delta V-Tech fence, nice and strong. Now, don’t go thinkin’ this is all complicated—it’s not! Just follow along, and we’ll have that fence up in no time.
1. Gather All the Tools and Parts


Before ya start, make sure you got all the tools you need. You’re gonna want:
- A good ol’ measuring tape
- Level
- Post hole digger
- Cement mix
- Power drill and screws
- And, of course, your Delta V-Tech fence panels
Once you got everything handy, lay the panels out so you can see all the pieces. Don’t skip this part! Just makes things easier, trust me.
2. Mark Your Fence Line
First thing’s first, figure out where you want this fence to run. Use your tape measure to mark where each post is gonna go. Mark it nice and clear, cause once we dig those holes, there’s no going back!
After you got the spots marked, go ahead and make sure they’re straight using the level. Nothing worse than a wobbly fence line!
3. Dig the Post Holes
Alright, time to break a sweat! Dig each post hole about 2 feet deep. You want that fence nice and sturdy, especially if ya got strong winds around. Use that post hole digger and get in there. If the soil’s tough, try pouring a bit of water in to soften it up first.
Now, after each hole is dug, make sure to double-check your measurements. It’s way easier to fix now than later.
4. Set the Fence Posts
Now, take each post and plop it right in the hole. Here’s the trick: mix up your cement and pour it around the post. This’ll keep it sturdy as a rock. Hold each post steady until the cement starts to harden up a bit.
Wait a bit for the cement to set; depends on the weather, but usually takes an hour or so. Keep checkin’ that it’s level while it dries!
5. Attach the Panels
Once them posts are set and not goin’ anywhere, it’s time to attach the Delta V-Tech panels. Grab your drill, and just start screwin’ them panels onto the posts. Keep an eye on the level as you go—nothin’ worse than a lopsided fence!
If the ground isn’t quite level, don’t worry too much. These fences can handle a bit of slope, just make sure you’re adjusting as you go along so it stays nice and even.
6. Check Everything Twice
After all the panels are attached, take a step back and have a good look. Make sure everything’s straight, solid, and level. If there’s any wobbly parts, go ahead and add some extra screws.
7. Finishin’ Touches
Alright, once everything’s good and tight, you can add any little extras you want—maybe a coat of paint if you like, or some plants along the base. It’s your fence, make it look nice!
And there ya go! You got yourself a Delta V-Tech fence up and ready to go. Should be lookin’ real sharp, and it’ll keep things secure too. Just remember, this fence’ll last you a good while if you keep it clean and check for any loose screws every so often.
Now get out there and enjoy that brand-new fence!
Tags:[Delta V-Tech Fence, Fence Installation, DIY Fence Guide, Home Security Fence, Outdoor Installation Tips]


