

Alright everyone, let’s dive right into today’s little project. I wanted to figure out how those political mailers actually end up in people’s mailboxes, especially for folks just starting out. Figured I’d just try it myself, step by step, and see what happens.
Step 1: Getting the Brainstorm Going
First thing, I sat down with a cold drink and just thought about it. How do they decide who to mail? What do they even say? Knew it wasn’t just blasting everyone, that’d cost a fortune. So, I grabbed my laptop. Typed into the search bar something like “how do campaigns find voters to mail”. Found a lot of official jargon, honestly confusing. Digging deeper, I read some old campaign manager interviews and a few local election write-ups. Seems it often boils down to targeting specific groups – people maybe on the fence, or folks who don’t vote much but might if nudged.
Step 2: Fake Campaign, Fake Message
Needed something to “sell”. Okay, so I pretend I’m running a campaign to… save the local park playground equipment! My big issue, haha. Wrote a super short pitch:
- “Tired of rusty swings? Vote Parker Playground Revamp!”
- “We need safe fun for our kids. Fund the Fix!”
Kept it dumb simple. Just headline stuff. No fancy policy talk.
Step 3: The Tricky Part – Finding ‘Voters’ (Well, Neighbors)
Couldn’t just mail real voter lists, obviously! So, I had to get creative. Thought about my own neighborhood. Who might care about parks? Families with young kids, maybe older folks who walk there? Made a super rough guess list: my neighbors on Maple Street and Oak Avenue. Basically, made up a tiny, fake mailing list by thinking “who lives where I do?” Not perfect, but good enough for practice.


Step 4: Making it Look Sorta Real
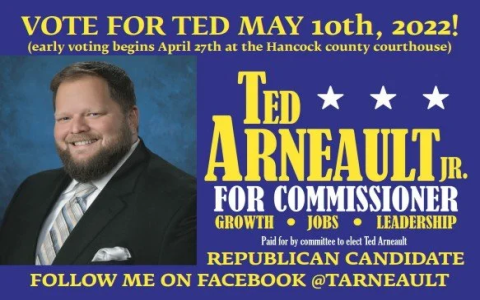
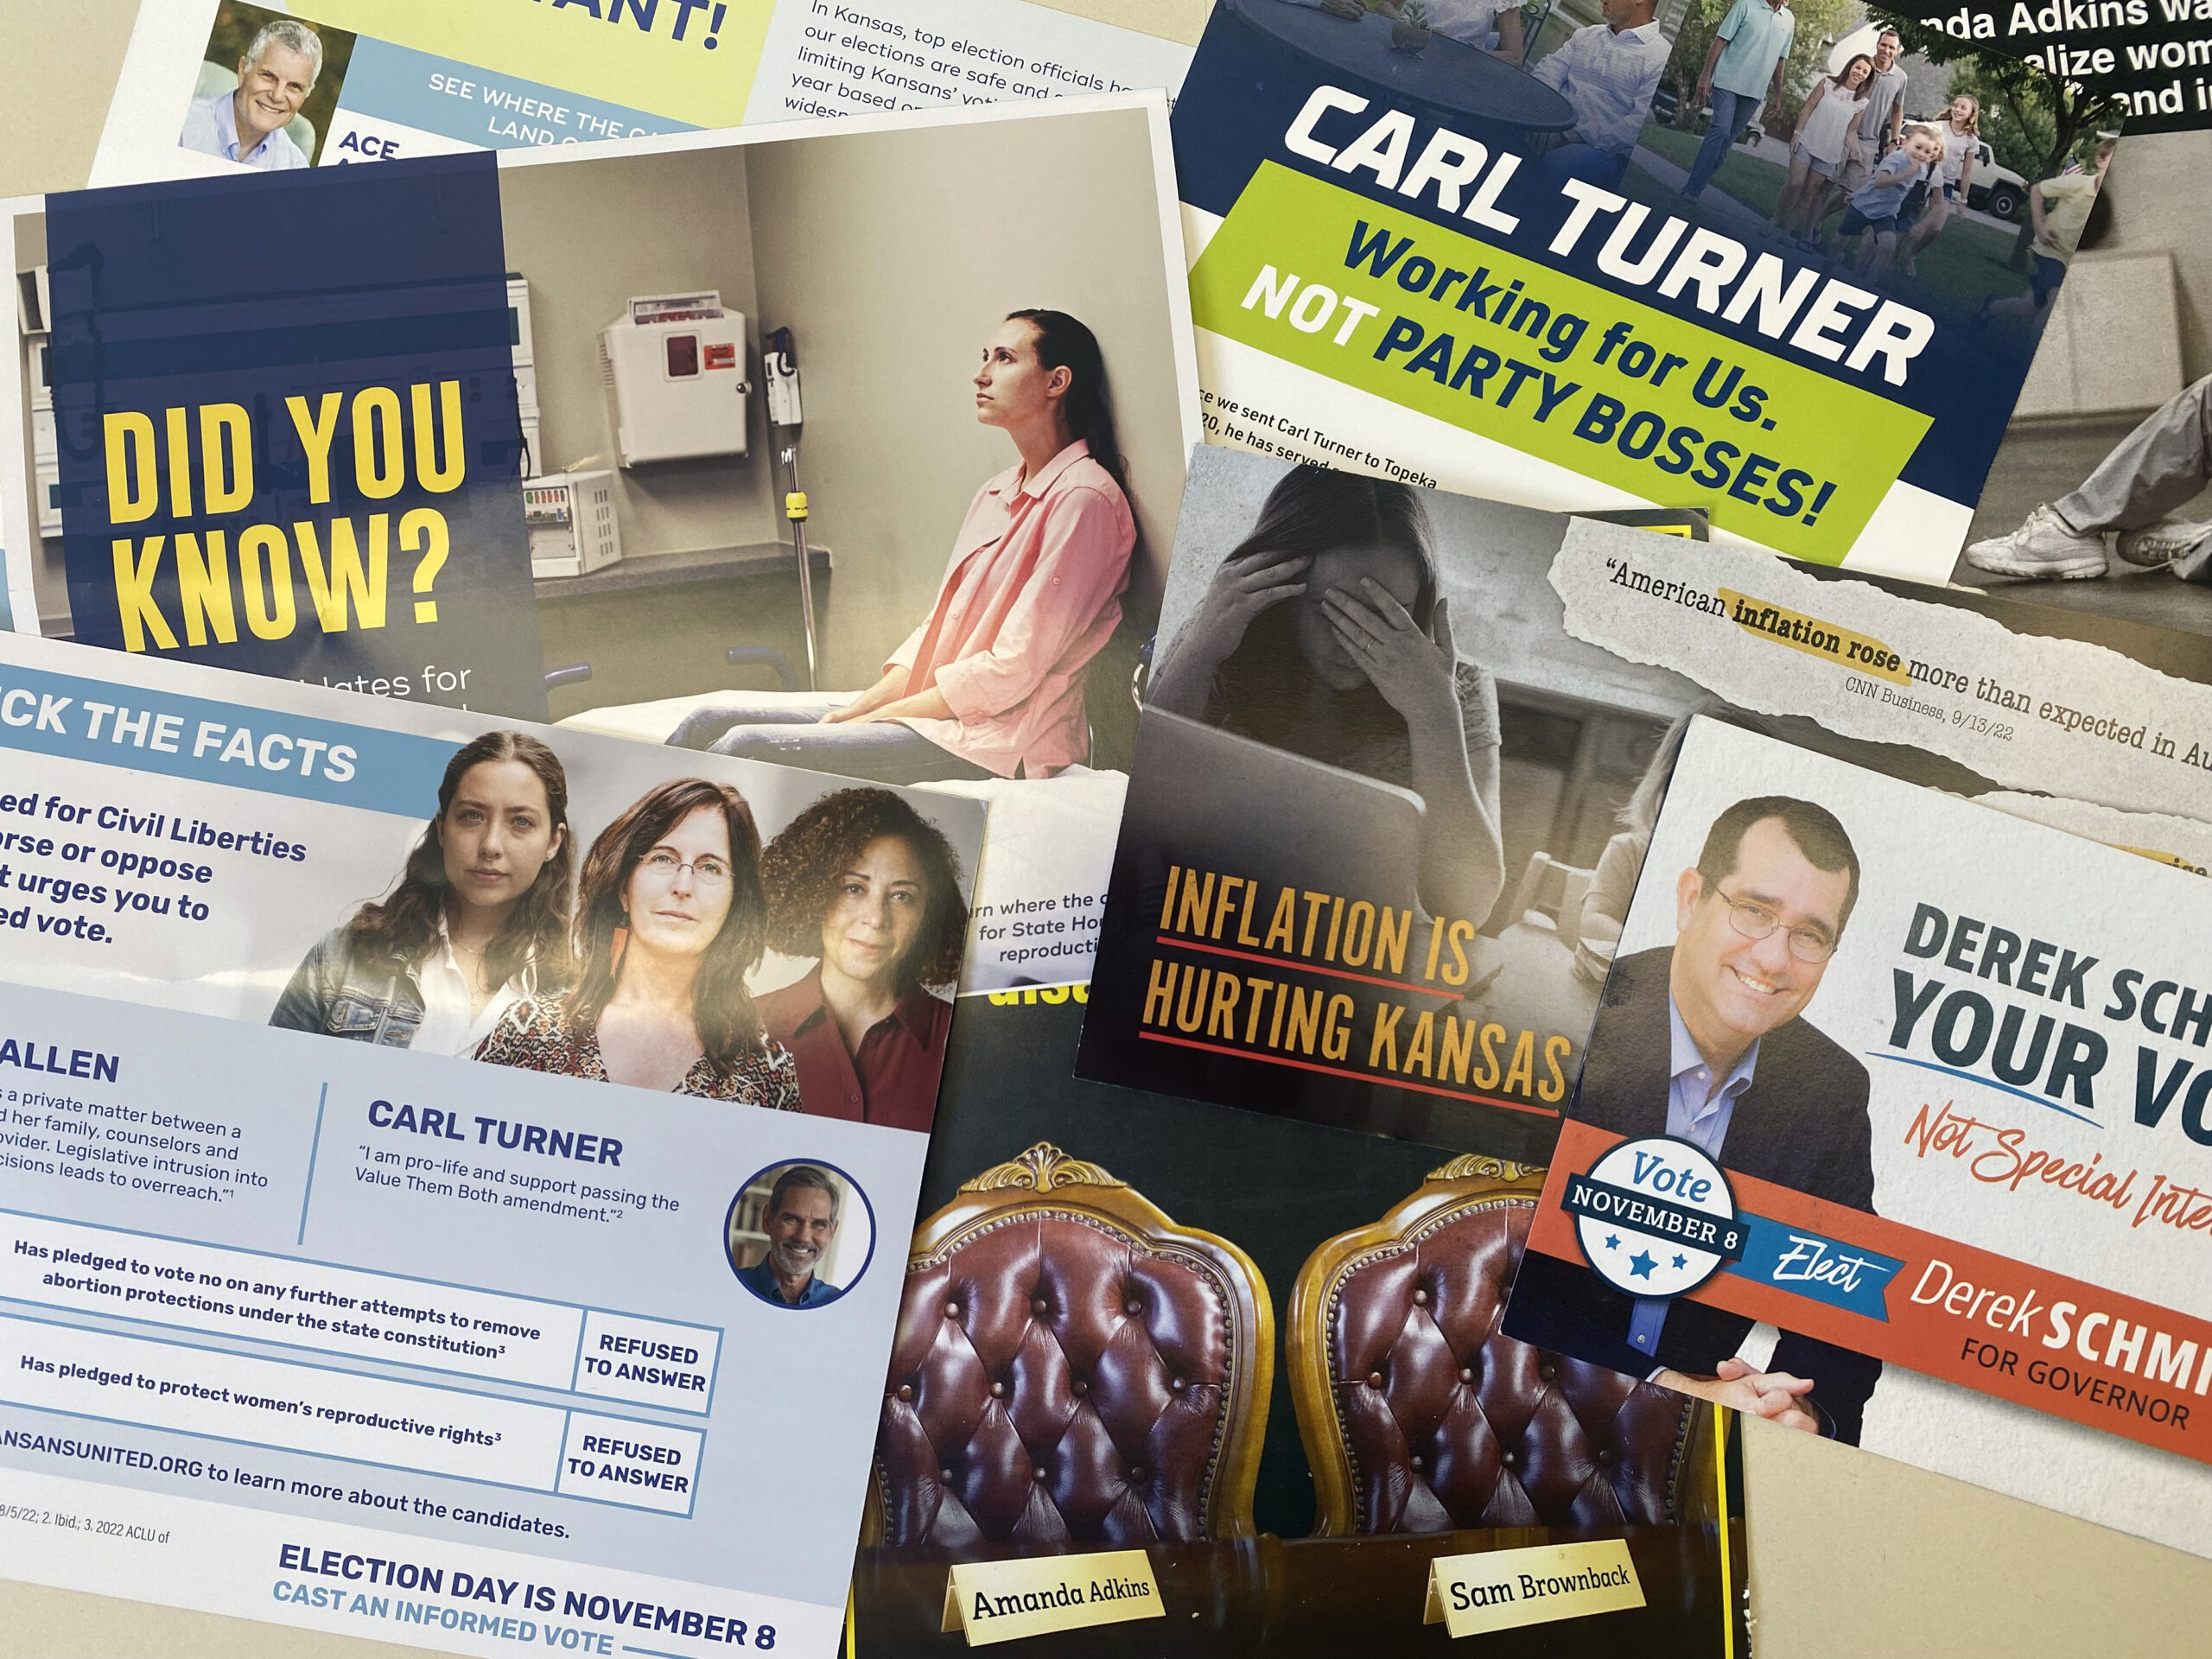
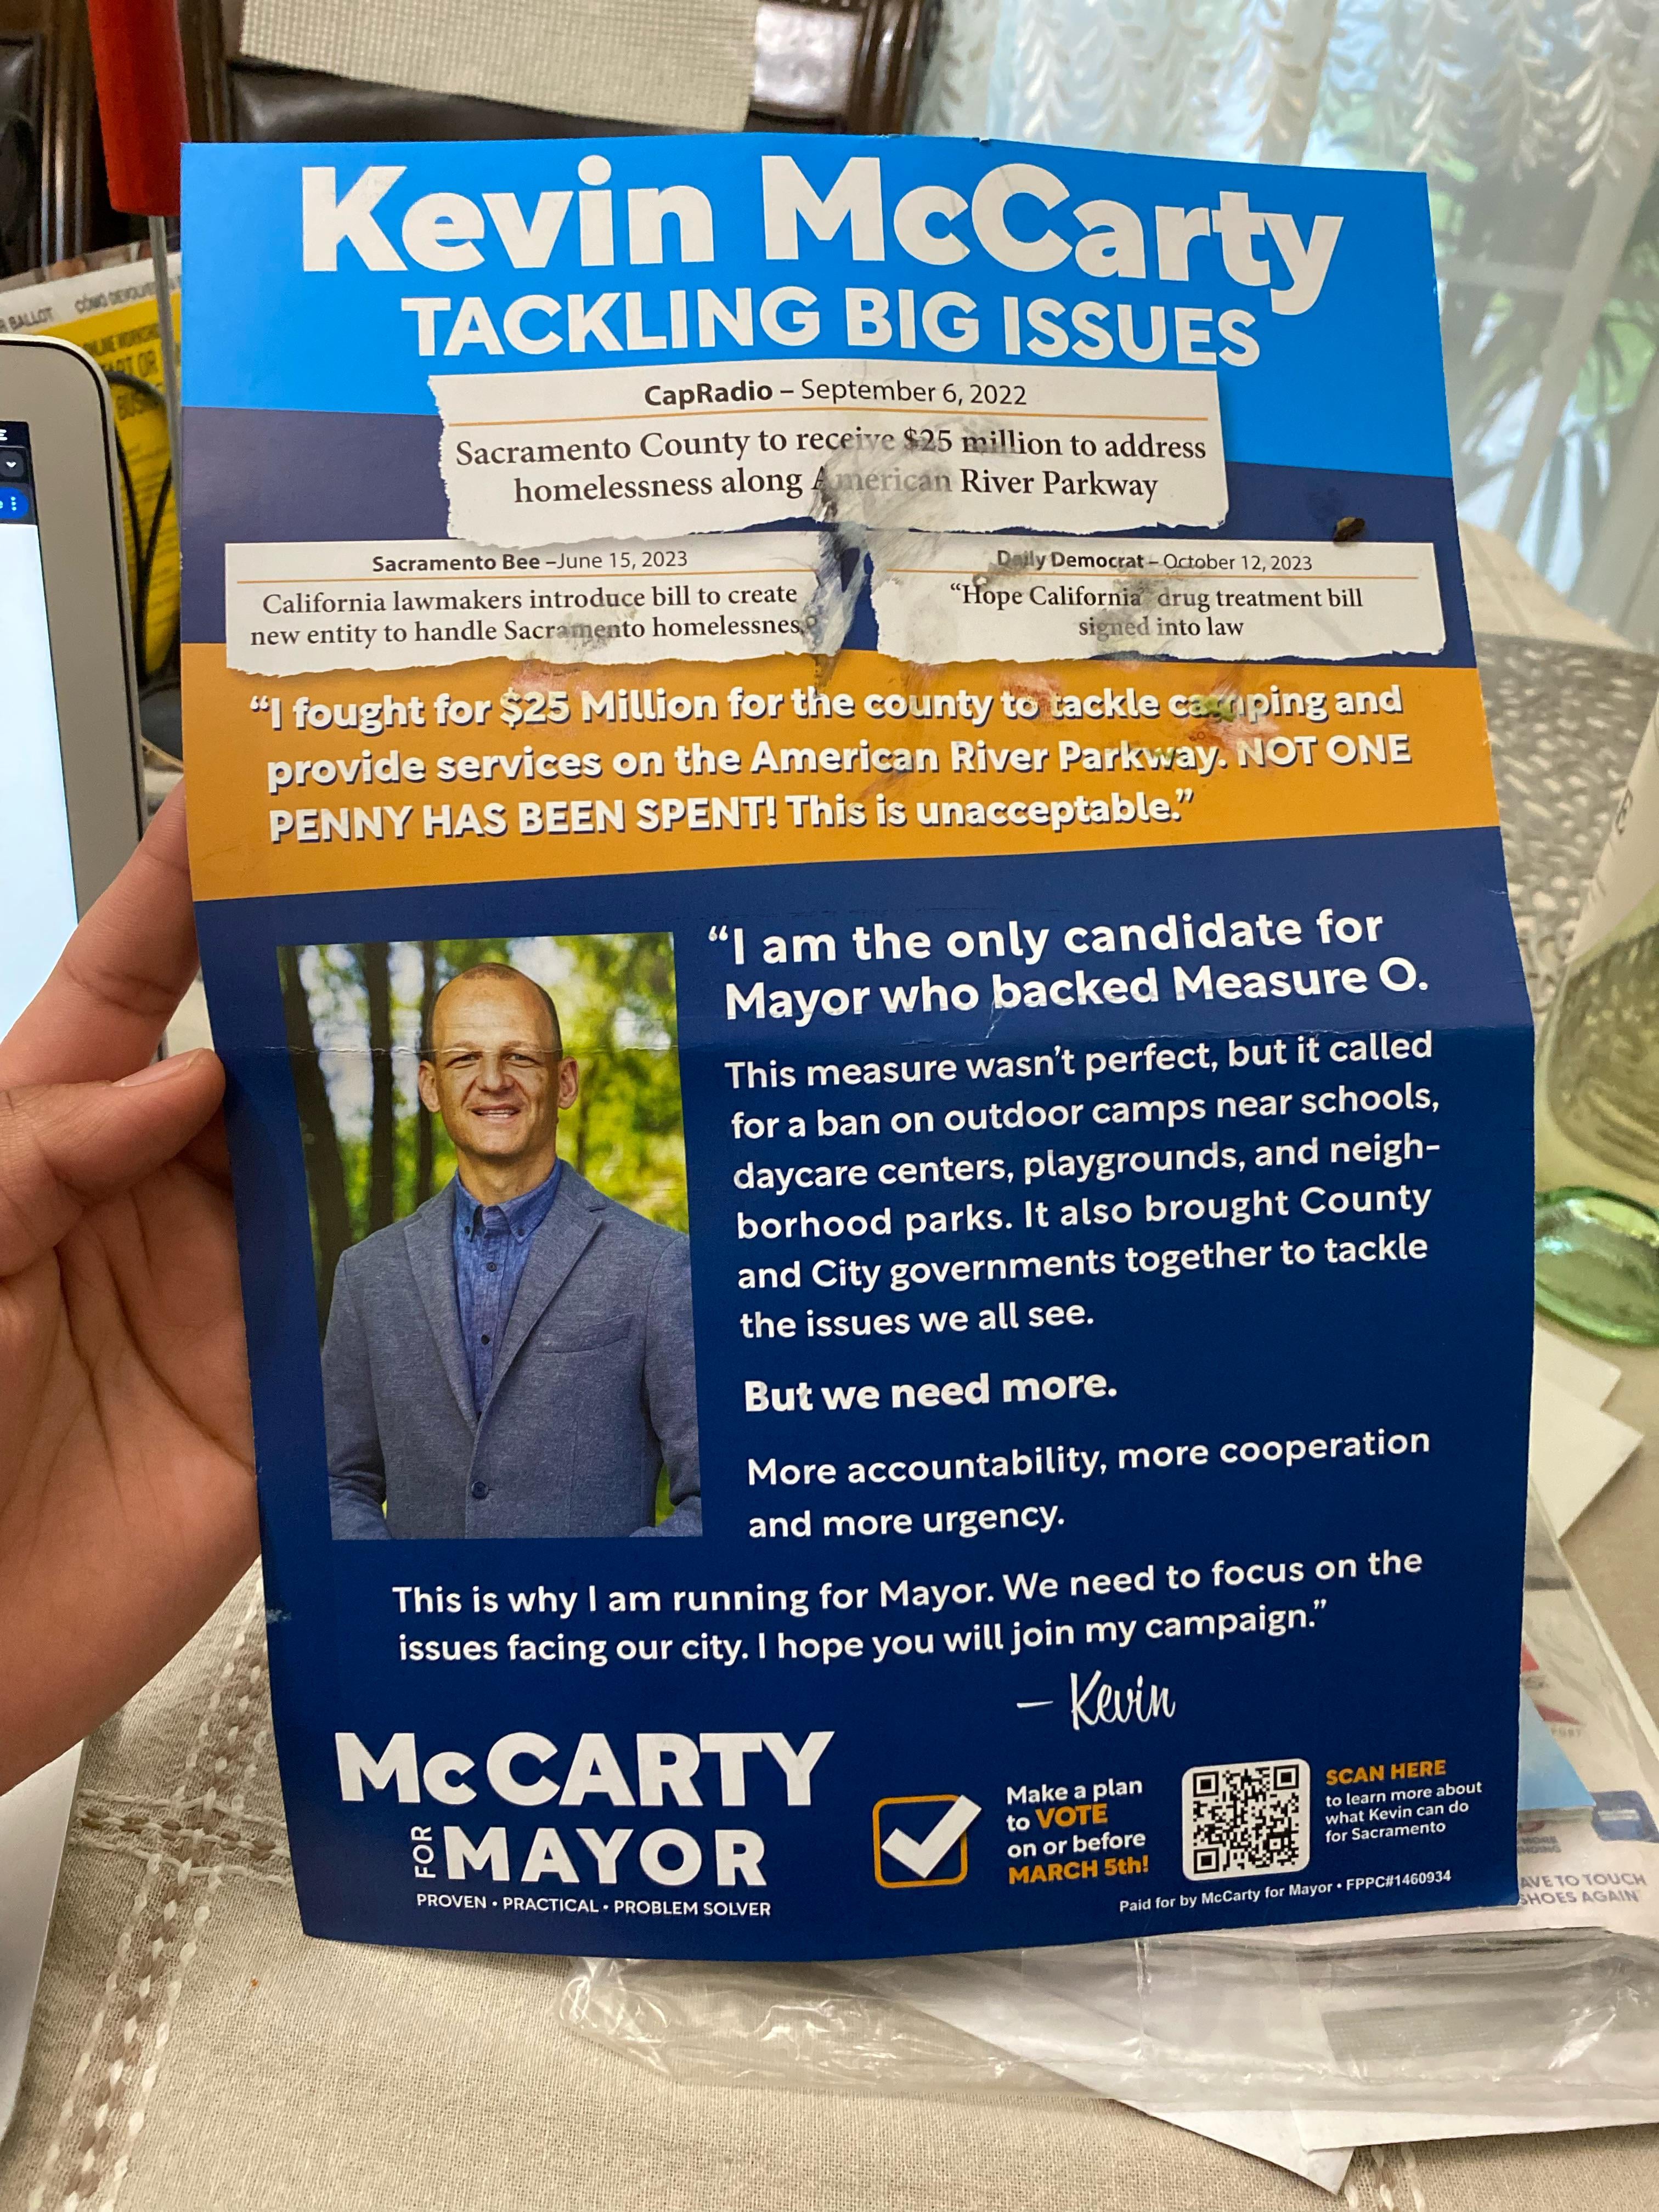
Opened up my basic word processor. Chose a slightly bold font for the headline, smaller font for my made-up message. Tried to add a stock image of a kid swinging (looked kinda cheesy, whatever). Focused on making it immediately grab attention when someone pulled it out of the mailbox. Big colors? Maybe just red and blue for that ‘political’ feel? Played around a bit.
Step 5: The Money Talk and Postal Headache
Alright, time to pretend to spend. Looked up mailing costs online. Whoa. Different prices based on size, weight, paper thickness? Postcards are cheaper? Then found out campaigns get discounts if they send lots, and if they sort the mail by zip code in a specific way (something about “presorting” and “NCOA” – confusing acronyms!). Felt my head start to spin. Realized this is where pros save serious cash. For my fake ten-house mailer? Just mentally budgeted like $10 bucks for fun stamps at the Post Office counter. Knew it wouldn’t be real cheap.
Step 6: Print & Pray? (Well, Simulate)
Printed one copy of my design on regular printer paper. Held it. Felt flimsy. Real campaign mail is usually thicker cardstock, glossy sometimes. Glued a fake stamp from an old letter onto it. Thought about envelopes vs. postcards. Went postcard for simplicity – message right out there. Didn’t actually mail them to my neighbors, obviously! Imagined stuffing the envelopes or loading the postcards into trays.
Step 7: The End Game – Did It Work? (Maybe?)
Since this was just me messing around, the “results” are pretend. Thought about the goal: Get people talking? Get them to vote my way? If I had sent it, maybe Mrs. Jenkins two doors down mentions the park at the bus stop. Maybe someone throws it straight in the recycling. The point is, I finally got a clearer picture of the whole chain: decide message -> find targets -> design -> print -> deal with postal rules/costs -> mail out -> hope it lands well.
Way more moving parts than I first thought! Especially figuring out who to mail to without wasting money. The post office discounts and rules were surprisingly complicated too. Makes you realize campaigns need dedicated people just for this mail stuff. Fun little experiment though, totally demystified the basics!


