


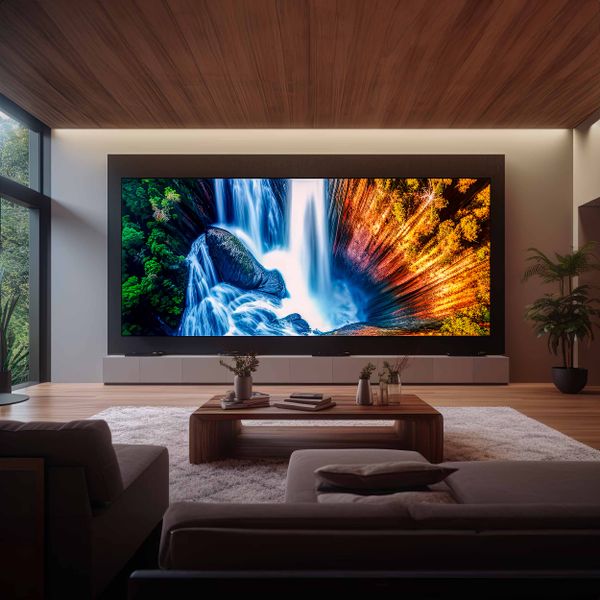
So, everyone’s going nuts over these entertainment walls lately, right? You see ’em everywhere – slick, clean, no wires. Looked kinda cool, I guess. My old TV setup? A total disaster. Wires like spaghetti, dust bunnies holding conventions. It was time for a change, a big one. I decided, yeah, I’m gonna build one of those fancy entertainment walls myself.
Getting Started… Or So I Thought
I figured, how hard could it be? Watched a few videos online, seemed pretty straightforward. Famous last words, my friend. First off, the planning stage. I spent ages just staring at the blank wall in my living room, then scrolling through countless pictures for inspiration. It’s amazing how many different ways you can stick a TV on a wall and call it an “entertainment center.” I sketched out a few ideas, changed my mind about a dozen times. My partner had opinions too, of course, so that added another layer to the decision-making. We eventually landed on a design that seemed achievable for a DIY-er like me.


Then came gathering all the bits and pieces. I made a list: TV mount (a good strong one, because my TV isn’t exactly a feather), some wood for shelves, screws, anchors, cable concealers. A trip to the hardware store, or rather, several trips. You always forget something, don’t you? Or you buy the wrong size thingamajig. That place became my second home for a week.
The Actual Sweat and (Almost) Tears
Alright, so with a pile of materials and a head full of slightly confused confidence, I started. First up was mounting the TV. This was the big one, the point of no return. Finding the studs in the wall? Man, that was an adventure. My cheap stud finder was playing games with me, I swear. Drilled a couple of test holes that turned out to be just drywall. Oops. Had to patch those up later. Finally, I found those elusive wooden beams.
- Getting the mount level was crucial. I must have checked it with my spirit level about fifty times. You don’t want a crooked TV staring back at you forever.
- Lifting the TV onto the mount was a two-person job, even though I initially thought I could manage. Good thing my neighbor was around to lend a hand. That sucker was heavier and more awkward than it looked.
- Then, the wires. Oh, the wires. This is where the real battle began. Hiding them all is the whole point of these walls, right? I decided to run them behind the drywall for the cleanest look. This meant carefully cutting some access holes, fishing wires through, and trying not to make a complete mess of the wall. It was fiddly, frustrating work. I probably spent half the project time just on cable management.
- I also wanted some floating shelves. Measured, cut the wood (my cuts weren’t perfectly straight, but hey, character!), sanded, and painted. Attaching them to the wall so they were sturdy and level was another test of my patience. One shelf still has a tiny, almost invisible sag on one side if you look really, really hard. But we don’t talk about that.
I remember at one point, covered in dust, with tools scattered everywhere, I just sat down on the floor and wondered why I’d started this. My living room looked like a disaster zone. My initial weekend project had definitely stretched into a “whenever I have free time” project.
The Big Reveal (to myself mostly)
But, I kept at it. Little by little, it started to come together. The TV was up and secure. The wires were mostly invisible. The shelves were… shelfish. Finally, after what felt like an eternity of measuring, drilling, and swearing under my breath, it was done.
And you know what? It actually looked pretty darn good. No more cable monster! Everything was neat, tidy, and it really did transform the room. It’s not showroom perfect, not by a long shot. There are little imperfections here and there that only I (and maybe my partner) will ever notice. But I built it. With my own two hands.
Was it worth all the hassle? Yeah, looking at it now, I’d say so. It’s a massive upgrade from what I had before. My biggest piece of advice if you’re thinking of doing one: take your time. Don’t rush it. And invest in a good stud finder from the start. Seriously, it’ll save you a lot of headaches. It’s a rewarding project, but it’ll test your patience for sure. Now, if you’ll excuse me, I’ve got some serious lounging to do in front of my new, awesome entertainment wall.


