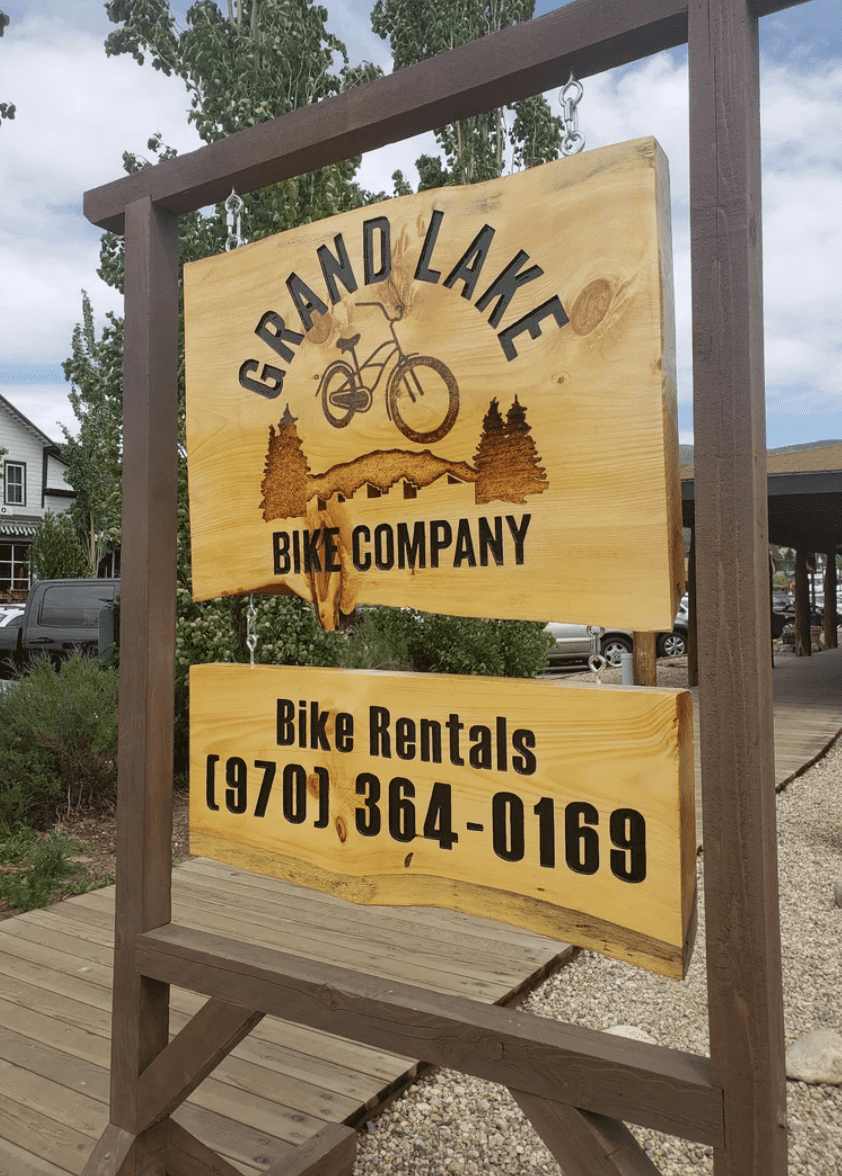
Okay, so I’ve been wanting to make some cool outdoor signs for my woodworking business. I finally got around to it, and I’m gonna walk you through how I did it. It’s not rocket science, promise!
Getting Started
First things first, I needed some wood. I had some scrap pieces of pine lying around from a previous project, so I decided to use those. I like the rustic look, so I wasn’t too worried about them being perfect.

- Gather your materials. You’ll need:
- Wood (duh!)
- Sandpaper (various grits)
- Wood stain or paint (your choice of color)
- Exterior wood sealant
- Paintbrushes or rags
- Letter stencils (or you can freehand it if you’re brave!)
- Screws or nails (depending on how you wanna hang it)
- Drill or hammer
Prepping the Wood
My wood was pretty rough, so I spent a good chunk of time sanding it down. I started with a coarse grit sandpaper to get rid of any big splinters and bumps, then moved to a finer grit to smooth everything out. Don’t skip this step – it makes a huge difference in the final look.
I used an electric hand-sander mostly, it made sanding super fast. My hands would be so tired without it.
Staining/Painting
Once the wood was nice and smooth, it was time to stain it. I went with a dark walnut stain because I wanted that classic, aged look. I just brushed it on with an old paintbrush, making sure to get into all the nooks and crannies. Then I wiped off the excess with a rag. Let it dry completely! This usually takes a few hours, or even overnight.
Adding the Letters
Now for the fun part – adding the business name! I bought some letter stencils from the craft store. I carefully positioned them on the wood and used a small brush to paint the letters with outdoor acrylic paint. I did two coats to make sure the letters really * you have shaky hands like me, securing the stencils with some tape helps a lot.
Sealing Everything Up
Because these signs are going to be outside, they need to be protected from the elements. I used a clear exterior wood sealant and applied a couple of coats, letting it dry completely between each coat. This will help prevent the wood from rotting and the paint from fading.
Hanging It Up
Finally, I had to figure out how to hang these bad boys up. I decided to go simple and just drilled some holes in the top corners and used some sturdy screws to attach them to my workshop wall. Easy peasy!
And that’s it! I’m pretty stoked with how they turned out. They add a nice personal touch to my workspace, and hopefully, they’ll catch the eye of some potential customers. It was a fun little project, and honestly, anyone can do it!


