

Getting Started with the Green Guy
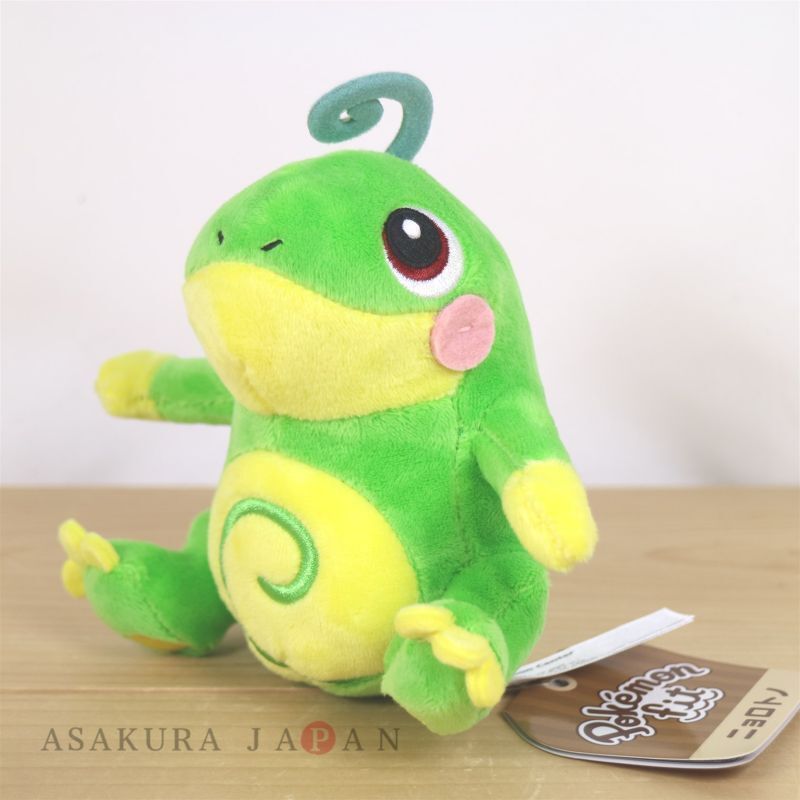
Alright, so I finally got around to making that Politoed plush I’d been thinking about. You know how it is, you see something online, or remember it from way back, and think, “I could probably make that.” Politoed’s always been a weird favorite of mine, just looks so darn happy and goofy. Couldn’t find a plush I really liked, they always get the eyes wrong or the smile looks weird. So, figured I’d do it myself.
First thing was digging out the supplies. Needed the right kind of fabric, that soft fleece stuff works best I reckon. Finding the perfect shade of green was a whole adventure on its own. Went to the craft store, they had like five greens but none were quite it. Too bright, too dark, too blueish. Ended up settling for one that was close enough. It’s always something, isn’t it? Reminds me of when I tried fixing my nephew’s old toy robot last year. Needed one tiny specific gear, plastic thing, couldn’t find it anywhere. Had to basically rebuild the whole gearbox with bits I scavenged from other broken junk. Sometimes you just gotta make do.


Anyway, fabric secured. Grabbed some yellow for the belly swirl and the… uh… head thingy? And pink for the cheeks, obviously. Black felt for the eyes and mouth details. Got my trusty sewing machine out, threaded it up with green thread. And stuffing, lots of that fluffy poly-fil stuff.
Cutting and Sewing – The Fun Part?
I sketched out a rough pattern based on pictures. Didn’t get too technical, just the basic shapes: body, arms, legs, head curl. Pinned the paper bits onto the fleece and started cutting. Always double-check you’re cutting two arms, two legs, mirrored if needed. Made that mistake before, ended up with two left feet for a different project once. Looked ridiculous.
Sewing started okay. Did the smaller bits first, like the arms and legs. Then attached them to the main body pieces. Using the machine for the long seams saves a ton of time. But for the fiddly bits, curves and attaching limbs, sometimes hand-stitching gives you more control, even if it takes forever. Getting the head curl attached neatly was a bit tricky, had to pin it like crazy.
- Cut out all the green body parts.
- Cut the yellow swirl and head piece.
- Cut the pink cheek circles.
- Sew arms and legs into tubes.
- Attach limbs to the main body piece (inside out!).
- Sew the main body seam, leaving a gap for stuffing.
Stuffing and Finishing Touches
Turned the whole thing right-side out. Always a magic moment, seeing it take shape. Then came the stuffing. You gotta stuff it firmly but not too hard, otherwise it feels like a rock. Tried to get it evenly distributed, especially in the legs so it could maybe sit up right. Pushed stuffing into the arms with a chopstick, works great for tight spots.
Once it was suitably chubby, I hand-stitched the opening closed. Used that hidden ladder stitch so it looks mostly seamless. Then the details. Cut out the eyes and mouth from black felt. Decided to just glue these on with fabric glue, quicker than embroidery and looks clean enough for me. Same for the pink cheeks and the yellow belly swirl. Had to be careful not to smudge the glue everywhere.
And… that was pretty much it. Stood back and had a look. It’s definitely a Politoed. Maybe a bit wonky here and there, the smile might be slightly crooked, but hey, it’s got character. It’s handmade, right? Better than those mass-produced things sometimes. Sits on my shelf now, looking cheerful. Job done.


