

Alright, let’s talk about sorting out my travel nail tech setup. It feels like ages ago now, but getting that first proper case together was quite the journey.
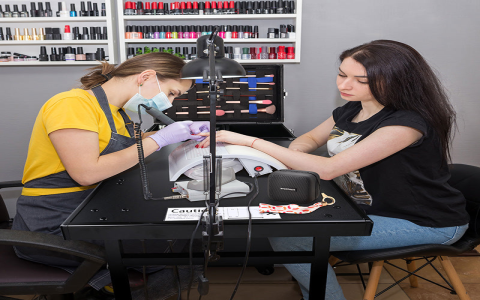
See, when I first started doing mobile appointments, my stuff was just… everywhere. A couple of tote bags, a plastic box for polishes, my lamp kinda just floating around in the car. It was a mess, honestly. Showing up looking like I just threw everything together wasn’t the professional look I was going for, you know? Plus, things got banged up. Not good.


Finding the Right Box
So, I decided I needed a real solution. A proper travel case. I spent hours, seriously, hours online looking at options. Train cases, rolling bags, tackle boxes – you name it, I probably looked at it. Lots were designed for makeup artists, which were close, but not quite right. They didn’t always have the right compartments for bottles, files, and especially the lamp.
I needed something sturdy because, let’s face it, lugging gear in and out of cars and houses is rough on bags. It also had to be organised. I couldn’t be digging around for a specific colour or tool while my client was waiting. And it couldn’t weigh a ton before I even put anything in it!
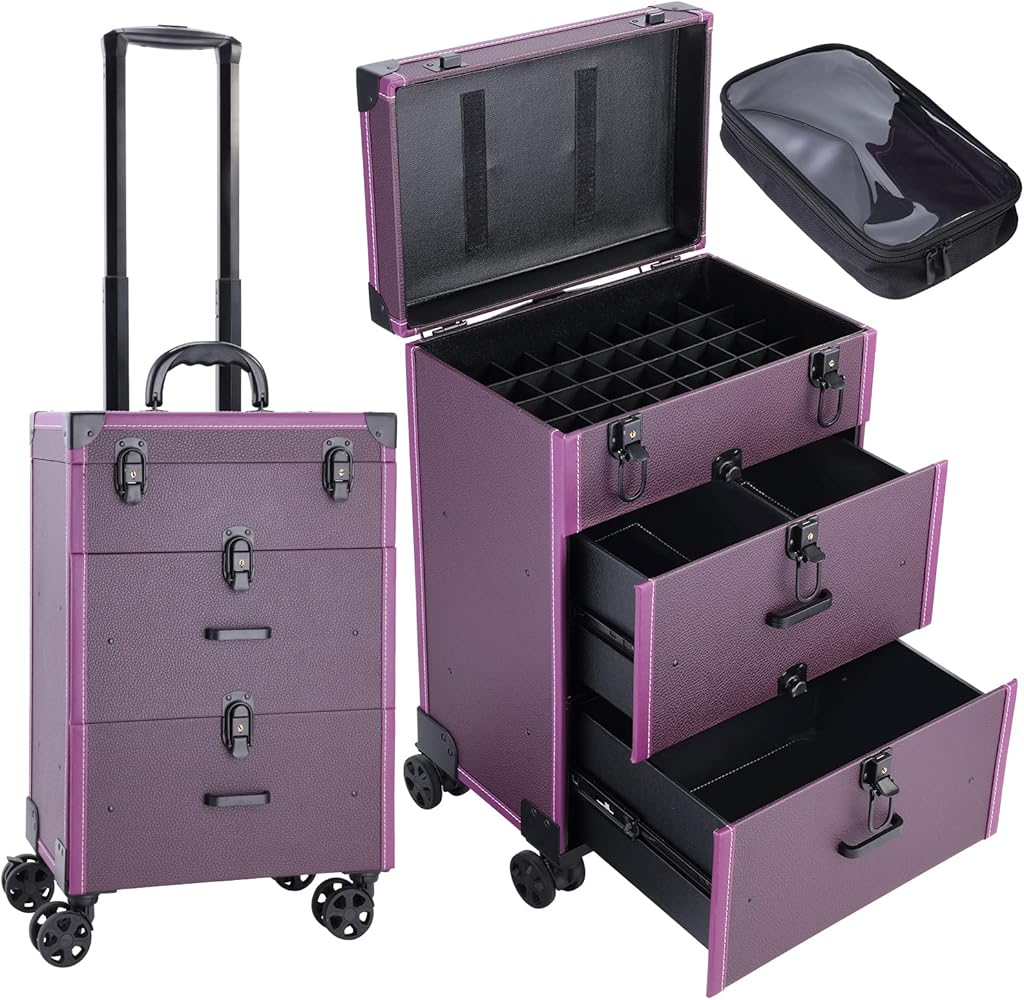
Ended up finding this rolling case, it was actually meant for craft supplies, I think? But it looked promising. It had drawers, a big open section on top, and it seemed pretty tough. Took a gamble and ordered it.
Setting It All Up
When it arrived, it was time for the fun part: figuring out where everything would live. This took some trial and error.
Here’s roughly how I organised it initially:
- Top compartment: This was the biggest space, so my LED lamp went in here. I added some foam I cut up myself to keep it snug and protected. Also stuffed my towels and rolls of paper towels around it.
- Top drawers (shallow ones): Perfect for files, buffers, cuticle pushers, nippers, nail art brushes, and little pots of glitter or gems. I used some small plastic dividers to keep things from sliding around too much.
- Middle drawers: These were deeper. One held all my base coats, top coats, and treatment liquids. Acetone, alcohol, cuticle oil – the essentials. I made sure these bottles were tightly closed! Learned that lesson the hard way once before.
- Bottom drawer (deepest): This became the polish drawer. I tried a few ways to store them – standing up, lying down. Ended up getting some foam inserts with cutouts to keep the bottles upright and separated. It held a decent amount, enough for a good selection.
- Side pockets (if any): Used these for things like my appointment book (old school, I know!), phone charger, maybe a water bottle.
Hitting the Road
First time rolling this thing into a client’s house felt way better. More put together, you know? Everything was mostly where I expected it to be. It rolled pretty well, even over bumpy pavements, which was a relief. Setting up my little mobile station was much quicker because I wasn’t searching through multiple bags.
It wasn’t perfect, of course. Sometimes the drawers would slide open in the car if I took a corner too fast – had to find a strap for that. And figuring out the best way to arrange the polishes took a few tries to stop them clinking together.
Was it Worth It?
Absolutely. It made a huge difference to how organised I felt and how professional I looked. It protected my gear, which is expensive stuff! It just simplified the whole mobile side of things. I eventually upgraded to a slightly different model years later, but that first proper case? Yeah, that was a game-changer for getting started seriously.


