

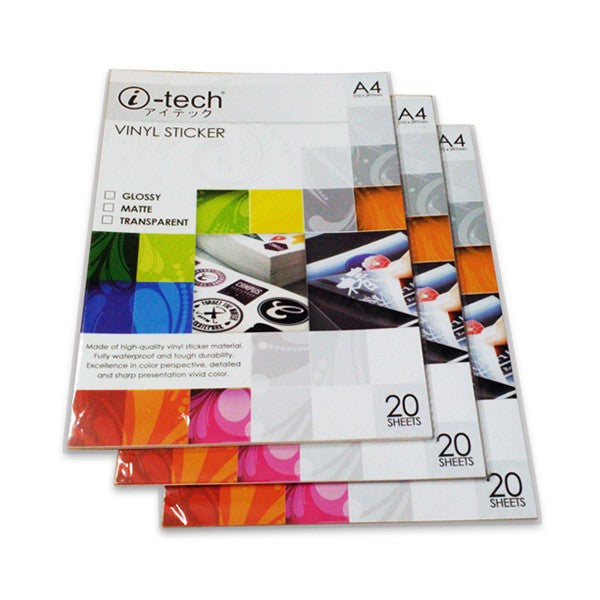
So, I wanted to try making some stickers with this i tech vinyl sticker paper I found. I’ve seen a lot of people doing cool stuff with custom stickers, and I figured, why not give it a shot?
First, I gathered my materials. I already had an inkjet printer at home, so I didn’t have to buy one. I grabbed the pack of i tech vinyl sticker paper, which felt pretty durable. I also made sure I had some designs ready. I doodled a few things on my computer and found some images online that I liked.


Next, I loaded the sticker paper into my printer. It was a bit thicker than regular paper, so I double-checked the printer settings to make sure it could handle it. I selected the “glossy photo paper” setting, hoping it would give me the best results. It’s probably not the most correct setting, but hey, let’s try.
Then came the printing part. I hit the print button and watched as the designs came to life on the sticker paper. The colors looked pretty vibrant, which was a good sign. I printed a few different designs to test things out, and maybe use some to give to friends or family.
- Waited for the ink to dry completely. This is important, don’t want any smudging!
- Carefully cut out the stickers. I used a pair of scissors, but I guess a craft knife would work too.
- Peeled off the backing and stuck them onto different surfaces like my laptop, water bottle, and notebook.
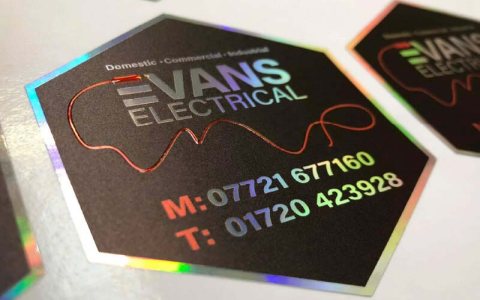
The stickers adhered well, and they looked pretty cool! I was actually surprised at how well they turned out. It’s not perfect, but, still looks good, right?
My Thoughts
Overall, I’m pretty happy with the i tech vinyl sticker paper. It’s a fun and easy way to create custom stickers at home. I can see myself making more of these in the future, maybe even starting a little sticker collection.
If you’re thinking about trying this out, I say go for it! It’s a fun project, and you can really let your creativity run wild. Just make sure you have a decent printer and some patience for the cutting part. Trust me, it’s all really worth it.


